


Before diving into the designs, let’s cover some basics to ensure a smooth start. Henna paste is made from the crushed leaves of the henna plant and is used to create beautiful, temporary body art. The best guide to finding mehndi design.
Here’s what you need:
- Henna Cone: Pre-made cones are perfect for beginners. They are easy to handle and allow for precise application. You can find them at most beauty stores or online.
- Lemon Juice & Sugar Mixture: This mixture not only helps darken and set the design but also acts as a natural adhesive, ensuring the paste sticks to your skin for longer.
- Cotton Balls or Swabs: Essential for cleaning up any mistakes. They are gentle on the skin and can quickly absorb excess henna paste.
- Tissue or Paper Towels: Handy for wiping away excess paste. Keep them nearby to maintain a clean workspace.
- Clean Your Skin: Ensure the skin where you plan to apply henna is clean and free of oils. Natural oils or lotions can prevent the henna from adhering properly.
- Patch Test: Test a small area to ensure you aren’t allergic to henna. Leave it on for a couple of hours and observe for any allergic reactions.
- Relax and Steady Your Hand: A steady hand is key to creating beautiful designs. Sit comfortably and make sure your arm is well-supported to avoid unwanted movements.
- Texture Matters: The consistency of your henna paste plays a crucial role. It should be smooth and not too runny. This ensures clean lines and prevents the paste from spreading.
- Storing Henna: If you’re not using pre-made cones, store your henna paste in an airtight container to maintain its freshness and potency.
Start with the basics. Dots and lines can be combined in countless ways to create stunning designs. Begin by making a series of dots in a line, and then connect them with straight or curved lines. This technique forms the basis of more complex designs but is beautiful on its own.
- Variations of Dots: Experiment with different sizes and spacing of dots. This simple variation can drastically change the appearance of your design.
- Line Techniques: Try varying the pressure on your cone to create thin or thick lines. This adds depth and dimension to your design.
- Combining Elements: Once comfortable, try combining dots and lines with small curves or spirals for added complexity.
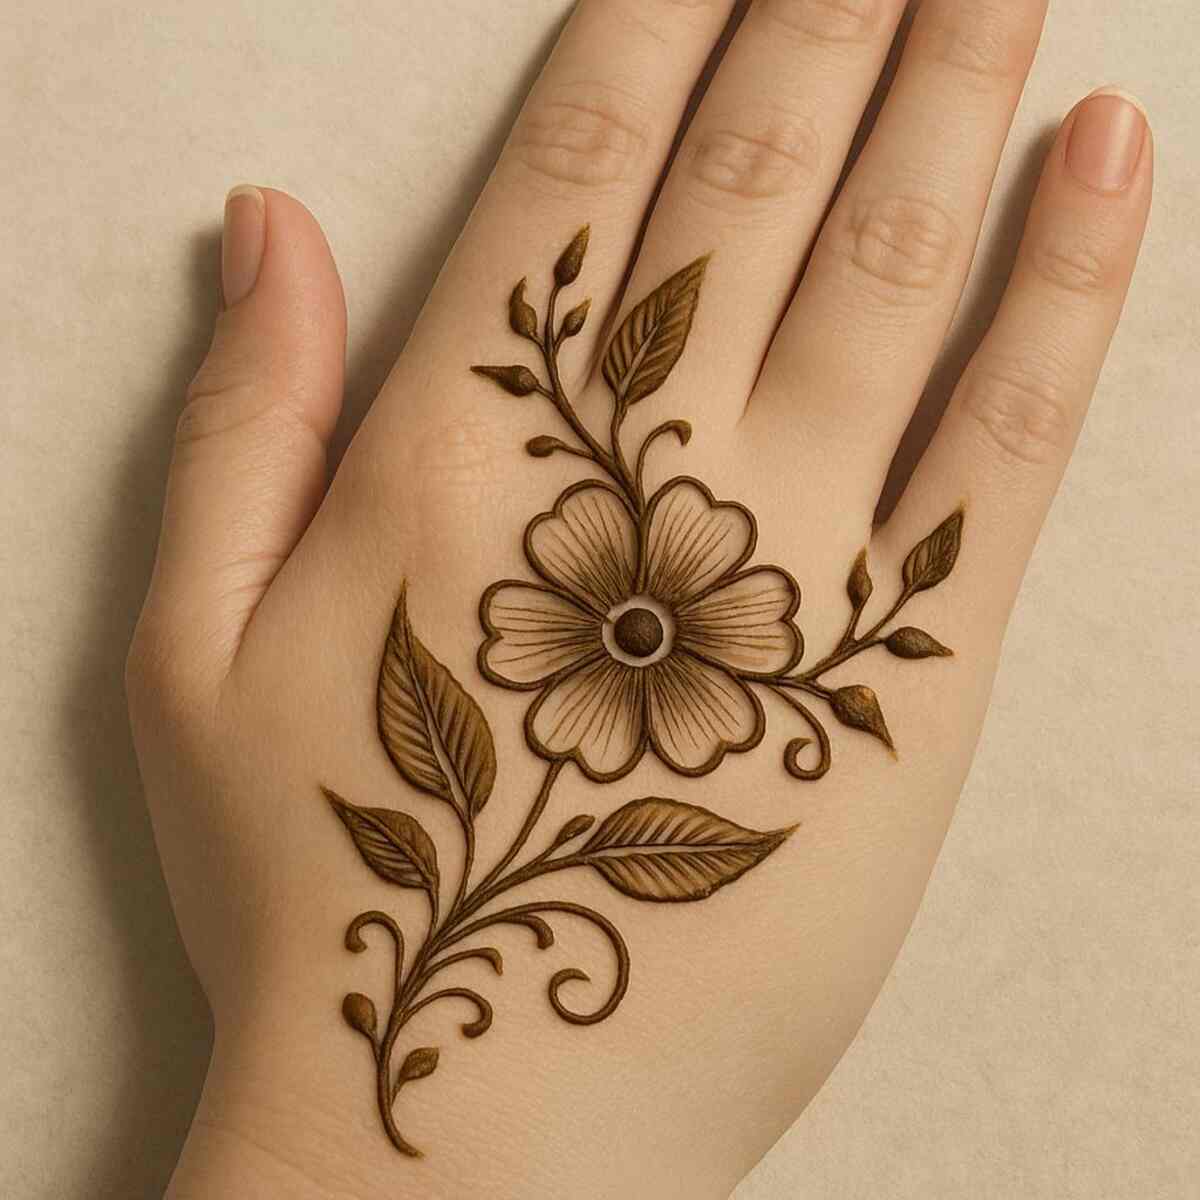
Flowers are a staple in henna designs. To create a simple flower, start with a dot in the center and draw small petals radiating outwards. You can make the petals rounded or pointed, and add dots and lines to enhance the design.
- Petal Variations: Explore different petal shapes, from round to elongated, to give each flower a unique look.
- Layering Flowers: Create a layered effect by drawing smaller flowers within larger ones or overlapping them slightly.
- Adding Leaves: Surround your flowers with small leaves or vines to add a natural touch and fill gaps in your design.
The paisley shape is a popular motif in henna art. Begin by drawing a teardrop shape, then add smaller shapes inside. Fill in with dots or lines to add detail. This design is perfect for wrists or the back of the hand.
- Variations in Size: Try creating paisleys of different sizes to add interest and balance to your design.
- Detailing: Use dots and small lines to fill the inner space of the paisley, adding intricate detail.
- Combining Paisleys: Connect multiple paisleys with lines or dots to create a flowing pattern across your hand or arm.
Geometric patterns like triangles, diamonds, and squares are easy yet striking. Combine these shapes in repetitive patterns for a modern twist on traditional henna.
- Symmetry in Designs: Geometric patterns often rely on symmetry. Practice drawing symmetrical shapes for a polished look.
- Mixing Shapes: Experiment with different combinations of triangles, squares, and diamonds to create unique patterns.
- Layering Patterns: Overlay one geometric pattern over another for added complexity and visual appeal.
The key to mastering henna is practice. Start by drawing on paper, then move to your skin. The more you practice, the steadier your hand will become, and the more confident you’ll feel.
- Daily Practice: Dedicate a few minutes each day to practice drawing simple designs. Consistency is key to improvement.
- Try Different Surfaces: Practice on different surfaces, such as paper, plastic, or even a practice hand, to understand how the paste behaves.
- Track Your Progress: Keep a record of your designs. Seeing your progress can be incredibly motivating and help identify areas for improvement.
Having reference images can be extremely helpful. Look for simple henna designs online and try to replicate them. Over time, you’ll develop your own style.
- Create a Mood Board: Gather images of designs you like to create a mood board for inspiration.
- Analyze Designs: Study the elements of the designs you love. Note the patterns, symmetry, and flow.
- Incorporate Personal Touches: As you gain confidence, start adding your own elements to the designs you replicate, creating a unique style.
Henna application is an art that requires patience. Take your time with each stroke, and don’t rush. If you make a mistake, wipe it away quickly with a cotton swab. Key facts on simple henna design.
- Set Aside Time: Ensure you have enough time to work on your design without feeling rushed. A relaxed environment aids creativity.
- Mindful Application: Focus on each stroke you make, being deliberate with your movements to achieve clean lines.
- Mistake Management: Keep cotton swabs handy to quickly correct mistakes without disturbing the rest of your design.
Once your henna design is complete, it’s important to care for it to ensure it lasts longer and appears darker. Here’s how:
- Let it Dry Naturally: Allow the henna to dry for at least 30-45 minutes. Avoid using heat, as it can crack the paste.
- Apply Lemon Sugar Mixture: Dabbing this mixture over the dried henna helps it darken. It also seals the paste, preventing it from flaking off prematurely.
- Leave It On: Keep the henna on for 4-6 hours, or overnight if possible, for the best color. The longer it stays on, the richer the stain will be.
- Avoid Water: Keep the area dry for the first 24 hours to allow the color to develop. Water can lighten the stain if it comes in contact too soon.
- Apply Natural Oils: Once the paste is off, apply coconut or olive oil to moisturize and protect the design. Oils help lock in the color and keep the skin hydrated.
- Avoid Scrubbing: When washing, be gentle with the area to prevent fading the design prematurely.
Once you’ve mastered these simple designs, you can start experimenting with more complex patterns. Henna is a versatile art form that allows for endless creativity. Try incorporating cultural symbols, animals, or abstract art into your designs as you gain confidence.
- Study Advanced Techniques: Look into more advanced techniques like shading, blending, and layering to add depth to your designs.
- Experiment with Themes: Create thematic designs, like nature-inspired motifs or festive patterns, to expand your repertoire.
- Join Henna Communities: Engage with online henna communities for inspiration, support, and to share your work with fellow enthusiasts.
Henna art is a beautiful and accessible way to express your creativity. With practice, patience, and a steady hand, you’ll be creating intricate designs in no time. Remember, the journey is just as rewarding as the final artwork, so enjoy each step of the process.
Whether you’re embellishing your hands for a special occasion or simply enjoying a creative afternoon, henna art offers a wonderful opportunity to connect with an ancient tradition while adding your personal touch. Happy henna designing!
- Embrace Mistakes: Every mistake is a learning opportunity. Embrace them as part of your growth in mastering henna art.
- Celebrate Milestones: Celebrate each milestone, whether it’s mastering a new design or receiving compliments on your work.
- Keep Experimenting: The world of henna is vast and varied. Keep exploring new designs, techniques, and inspirations to continually evolve your art.